Your washbasin is a focal point that can enhance the cleanliness and appeal of your area in addition to serving as a practical element in your kitchen or bathroom. Maintaining the cleanliness and functionality of your washbasin not only improves its beauty but also encourages a healthier environment. We’ll lead you through the process of wash your sink step-by-step so that it shines brilliantly and continues to be a shining focal point in your house.
Step 1: Gather Your Supplies
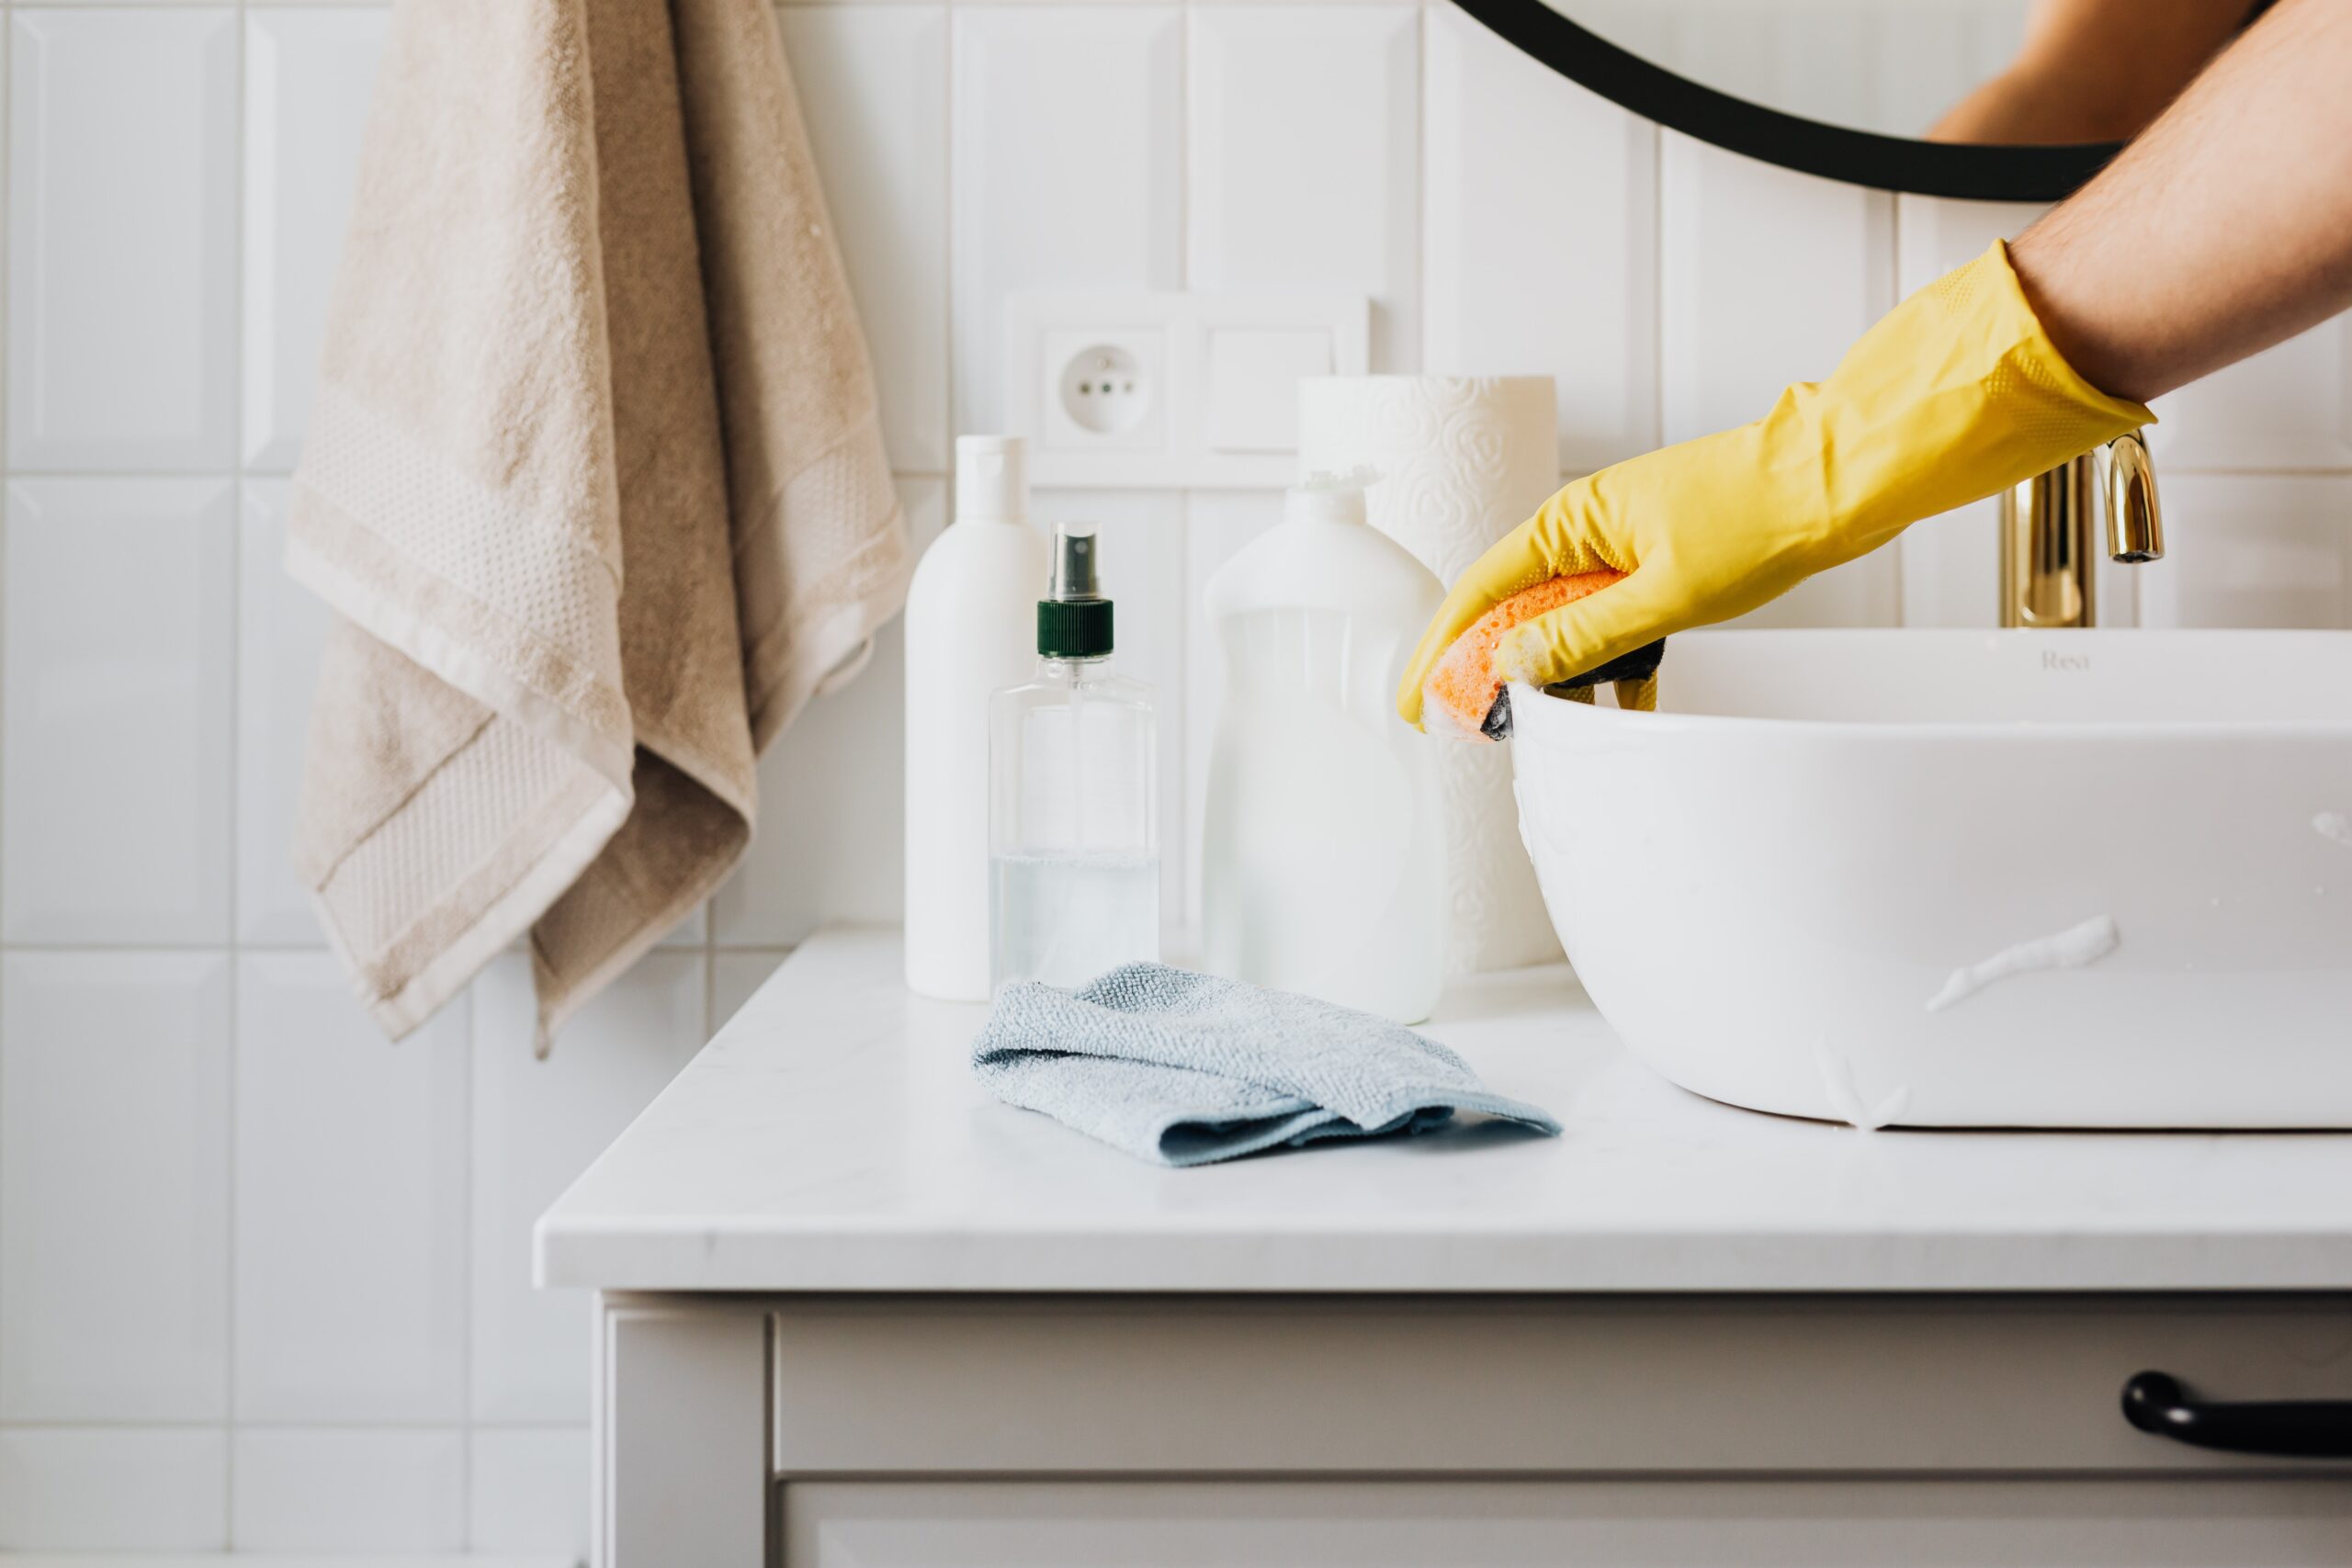
Before you start wash your sink journey, gather the necessary supplies. You’ll need:
- Dish soap or a mild cleaning solution
- Baking soda
- Soft sponge or cloth
- Old toothbrush or small scrub brush
- Vinegar (optional)
- Microfiber or lint-free cloth
- Rubber gloves (optional)
Step 2: Clear the Sink Area
Start by clearing the washbasin and vicinity of any dishes, objects, or trash. You’ll have a free work area to concentrate on cleaning the washbasin as a result.
Step 3: Rinse the Sink
Warm water should be used to quickly rinse any loose dirt or debris out of your washbasin. The cleaning procedure will be more successful as a result.
Step 4: Apply Cleaning Solution
Warm water should be combined with a few drops of dish soap or a light cleaning agent for sinks made of stainless steel, porcelain, or ceramic. Baking soda mixed with a moist sponge can be used to remove harder stains off washbasin surfaces.
Step 5: Scrub the Sink
Start scrubbing the surface of the washbasin after dipping a soft sponge or cloth into the cleaning solution. Areas with stains, water marks, or soap scum should receive extra care. Avoid using aggressive scrubbing, especially on fragile sink materials, and instead use gentle circular strokes.
Step 6: Focus on Faucets and Fixtures
Don’t forget to clean the fixtures near the sink, such as the handles and faucets. To get into nooks and crannies, a small scrub brush or an old toothbrush can be useful.
Step 7: Address Stubborn Stains
Make a paste by combining baking soda and a little water for harder stains. Apply the paste to the soiled areas, then wait a few minutes before removing it. Use a gentle sponge or rag to scrub the spots gently after that.
Step 8: Rinse Thoroughly
After cleaning, thoroughly rinse the sink with warm water to get rid of any baking soda or cleaning solution residue.
Step 9: Dry and Polish
Dry the surface of the sink with a clean, dry microfiber or lint-free cloth. By avoiding water stains and streaks, you can keep your washbasin appearing clean and shining.
Step 10: Optional: Vinegar Rinse
You can use white vinegar to dampen a cloth and clean the surface of the washbasin for an added touch of glimmer. Vinegar makes the sink sparkle even more and aids in removing mineral buildup.
Step 11: Maintain Regularly
Establish a routine of cleaning down your washbasin after each use to avoid accumulation and stains and maintain it looking its best. Deep cleaning procedures will become less frequent with regular upkeep.
Conclusion
In addition to improving the aesthetics of your kitchen or bathroom, a clean and well-maintained washbasin makes your home seem more hygienic and comfortable. This step-by-step instruction will make it simple for you to clean your washbasin and maintain it spotless for years to come. So put on your work gloves, gather some materials, and turn your washbasin into a centrepiece that will improve the aesthetics of your house.